How to Use Eraser Tool in Cricut Design Space
This post contains affiliate links. If you use these links to buy something, we may earn a commission, but it doesn't cost you anything. Thanks!
How do you create layers in Cricut Design Space?
Techniques and skills like this are essential if you want to expand the boundaries of what you can make with your Cricut cutting machine.
Thankfully we don't have to learn it all at once to start creating with Cricut, but can take it step-by-step!
Create Layers In Cricut Design Space
My favorite way to find free images is Google Images, but be sure to check the license of each image before you download them. The image I am demonstrating the process with was free for personal use.
If you're not familiar with the difference between JPG and PNG images, let me explain:
- JPG images still have a white (or colored) background which will need to be removed
- PNG images have no background, and only a grid pattern in the background
If you have the choice, PNG images are slightly easier to work with than JPG images. JPG images can sometimes need a lot of cleaning up (especially when trying to isolate colors into separate layers), but we'll get into all that soon.
How To Separate An Image Into Layers In Cricut
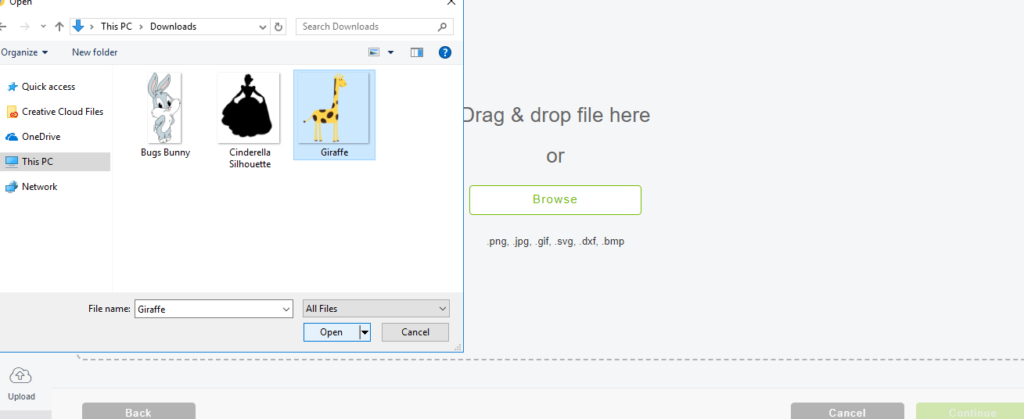
1. Start by opening a new project in Cricut Design Space and click 'upload'.

2. Click 'upload image'.

3. Click 'browse' to select your image, click 'open' and then 'continue'.
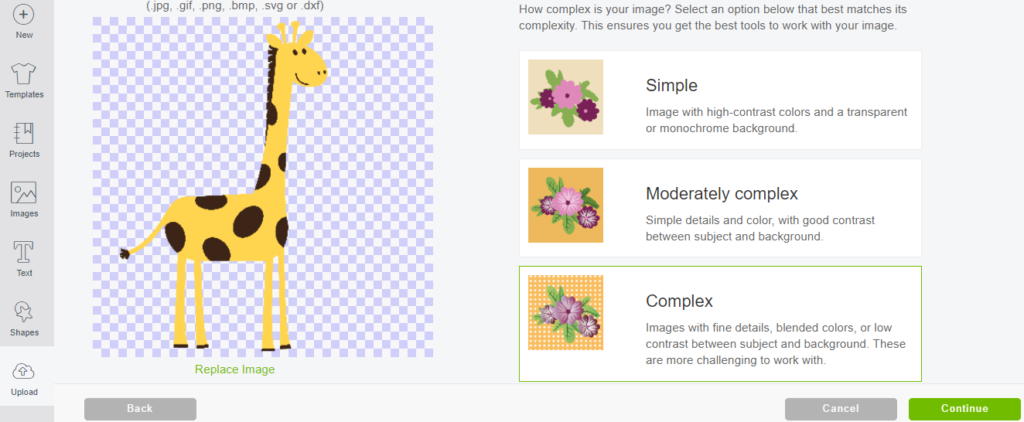
4. Select the image type. Read the descriptions of each image type and decide which category your image falls into. I could probably get away with simple or moderately complex for my image, but I'm going to go complex anyway!
5. If uploading a JPG image, use the wand tool and click all the parts of the background to remove them. Here I'm uploading a PNG, so the background has already been removed. You'll know when the background is removed because the grid pattern will appear instead. Zoom in and out depending on the size of your image, to make it easier to work around.
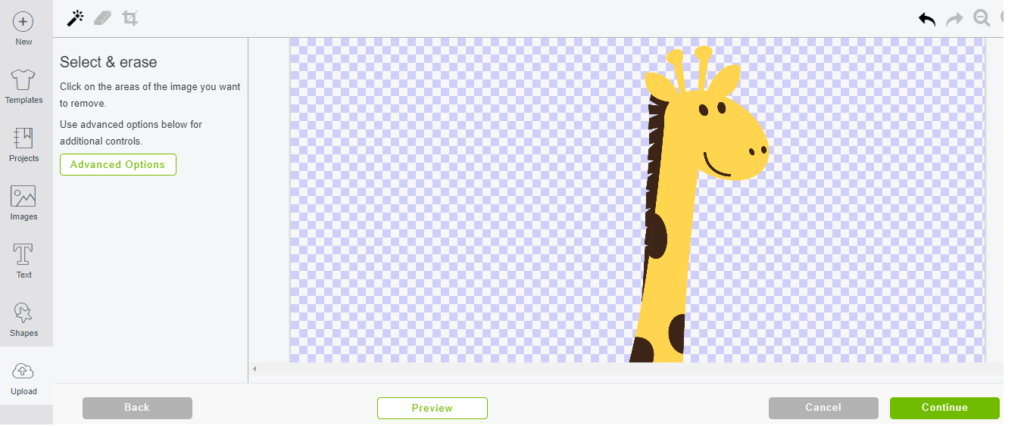
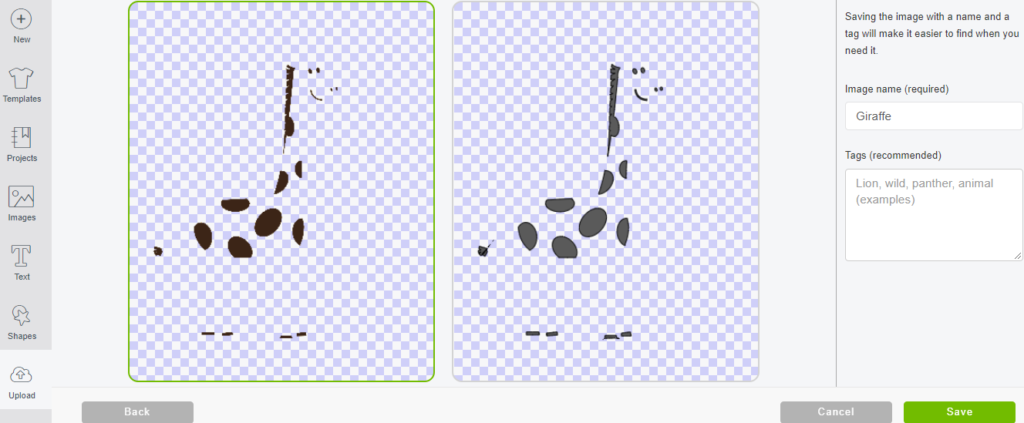
Sometimes there can be random cut lines around an image, so it's best to preview it before continuing on to the next step. If there are any random lines that aren't part of your image, use the eraser tool and remove them. Here I am previewing my cut image and it all looks good! Now click 'continue'.
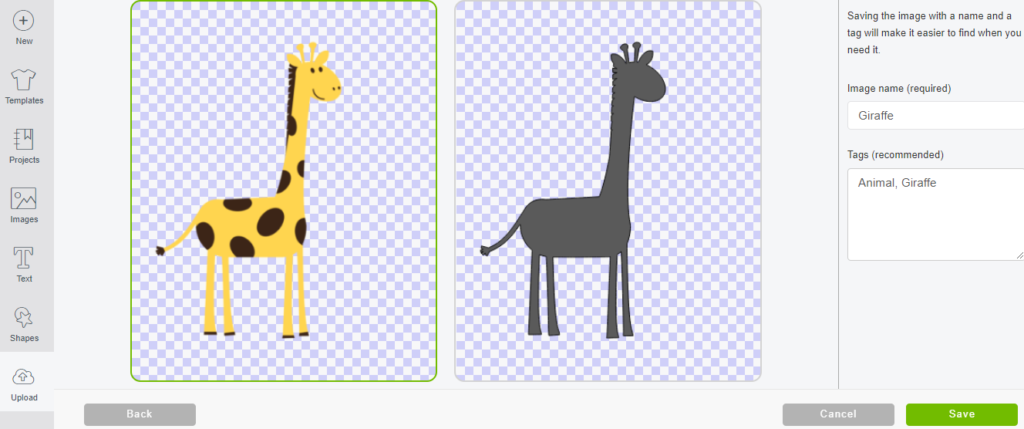
6. Select to save as a 'print then cut image' (I'll show you why soon). Write an image name and add some tags so that you will easily be able to search through your uploaded images at a later date.
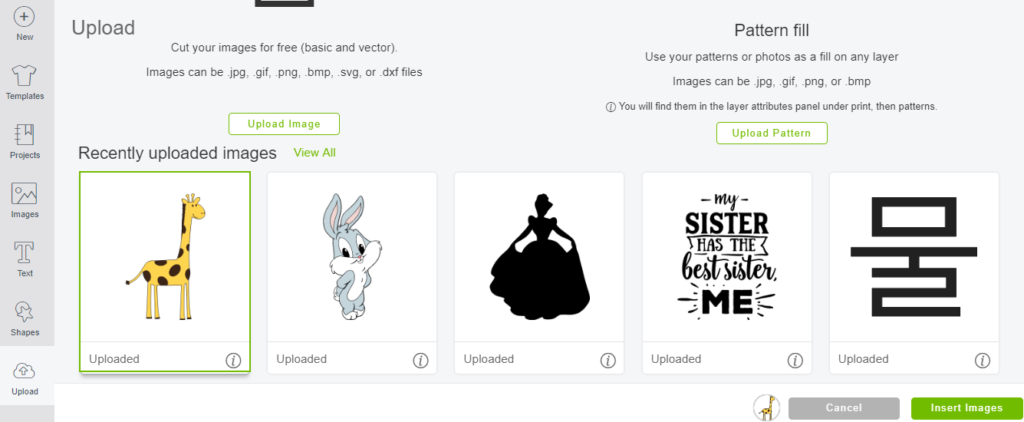
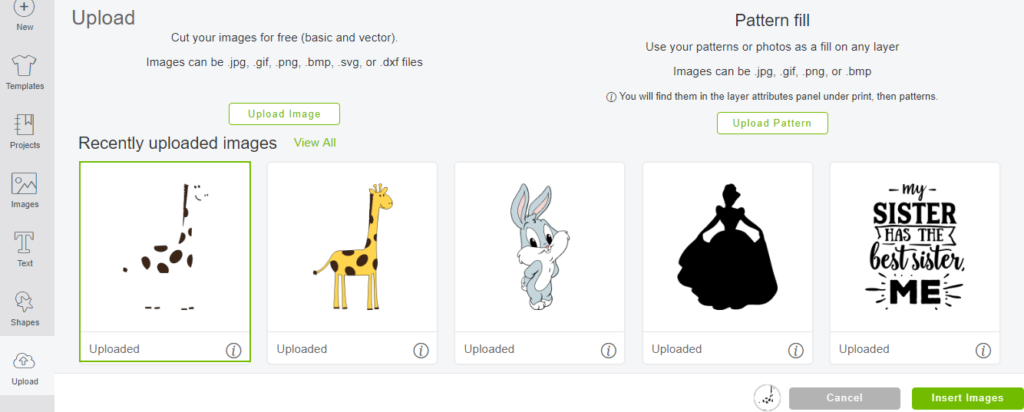
7. Your image is now uploaded! Let's insert it into the canvas so that I can explain about single layer and multi-layer cut files. Click the image to select it and then click 'insert images'.
8. Now we've got our print then cut image on our canvas. You can see on the right hand side (below) that there is a little printer symbol. This shows that it is a single layer image and can only be printed and then cut as ONE layer. There are no separate layers available to work with here. So, we're going to make more layers!
To keep this tutorial from becoming unbearably long, I've only chosen to create a cut file that has two layers. But, once you know how to create one layer, the steps are the same, and you can continue to create multiple layers if necessary.
This print-then-cut image is actually going to serve as your base cut layer (the yellow/orange color of the giraffe). Here I just need to create one more layer (the brown colored parts of the giraffe).

9. Let's upload the same image again. Click 'upload' and then 'upload image'.
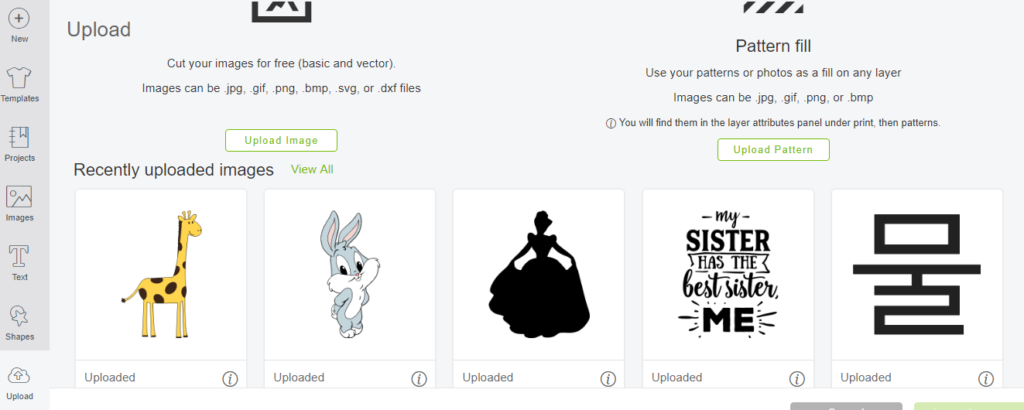
10. Click 'browse', and open your image again. Click 'continue'.
11. Select your image type, same as before.
12. Erase the background again if you've got a JPG, or if you've got a PNG, you're ready to go.
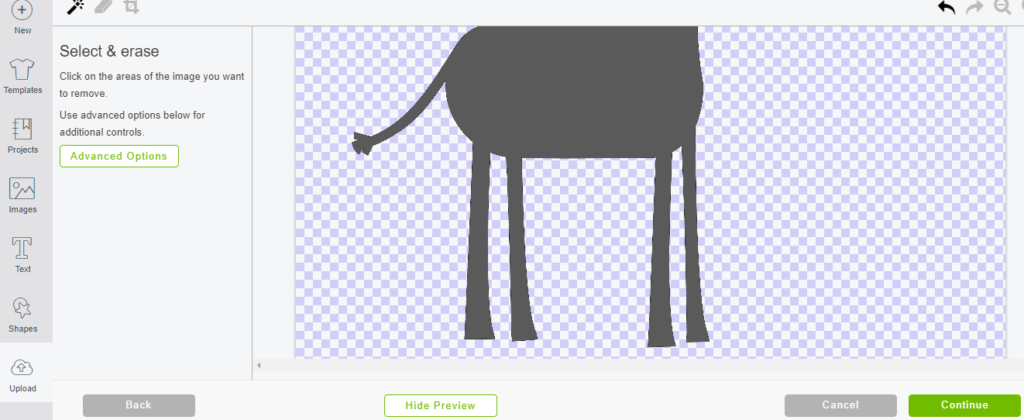
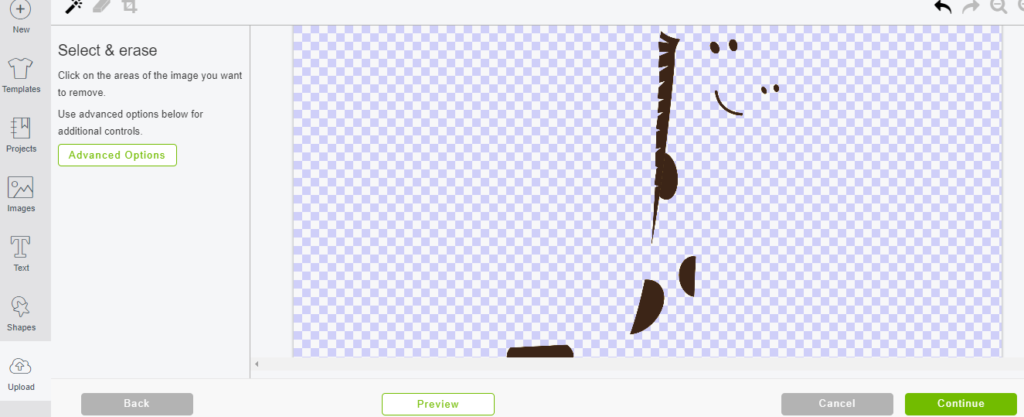
13. This time when uploading our image, we're going to isolate only one color from our image, which will make up one layer of our cut file. As the orange makes up the base layer of the giraffe, I'm going to click with the wand to remove it, and I'm left with only the brown layer.
Click preview to make sure there are no stray lines, and if there are, remove them with the eraser. Then click 'continue'.
14. With the layers, you can either save them as a print-then-cut, or as a normal cut image. It's great to save the first image upload (the base layer we've previously created) as a print then cut image, so that you can also use that original copy as a guide for putting your layers together later on. But for all subsequent layers, it's really up to you.
Sometimes saving the image as a print then cut, and changing it to a cut file later on, gives a higher quality image. (Although I've also found the opposite to be true in some cases!) You can see below that I've got a few tiny random cut marks in the cut image preview (by the tail for example). If I save this layer as a print then cut, I don't get the cut marks.
Add the image name and tags.
15. Repeat the above process with all the colors in your image. Isolate one color at a time by removing all the other colors in the image to make different cut layers. Once all your separate layers are uploaded, select them all and click to insert them into your canvas.
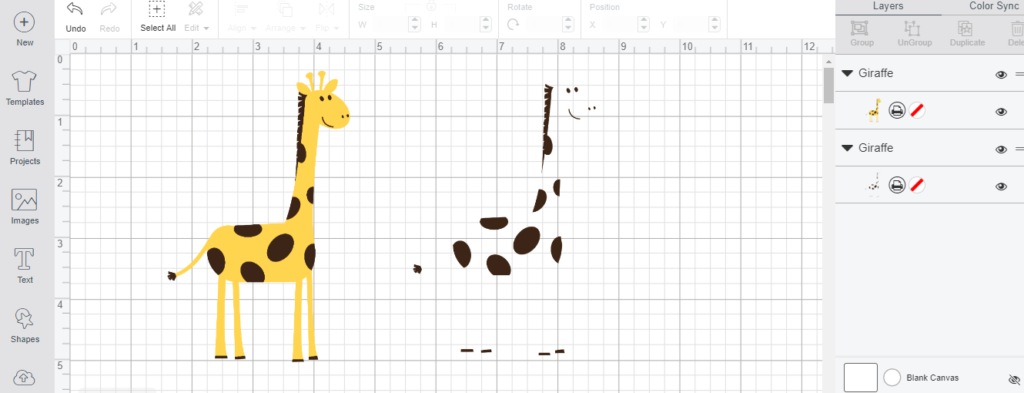
16. There we go, we've got the original print then cut image, and now our layers (I've just got one!) on the canvas.
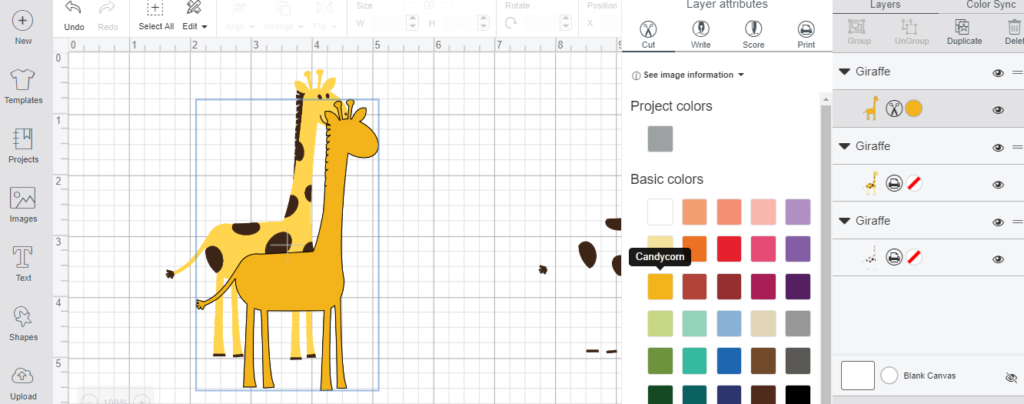
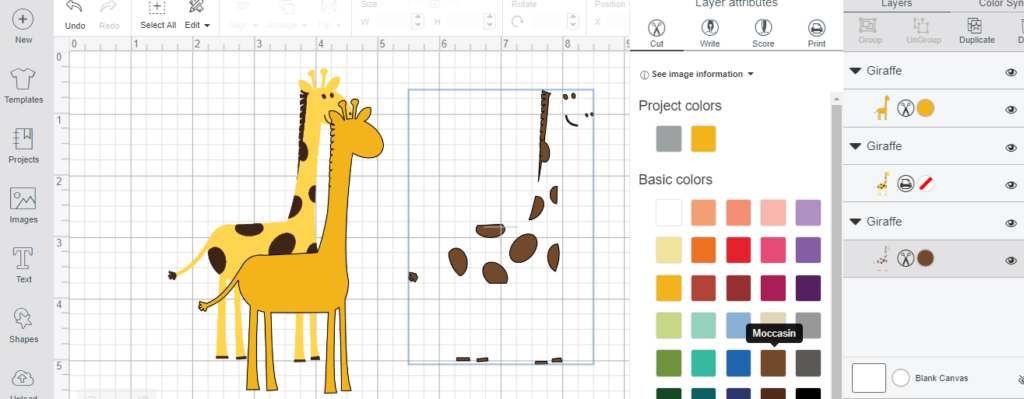
17. You'll want to keep an original copy of your main image, so duplicate it. Then click the printer symbol on the side, select 'cut' from the options that come up, and this will give you a base layer for your image. Change the color of this layer to resemble the color of the original image.
18. Now let's do the same with the layers (unless you've saved them as a cut image, then you can simply change their colors to the same as your original image). Select your layer, click the printer symbol, change it to 'cut', and change the color of the layer.
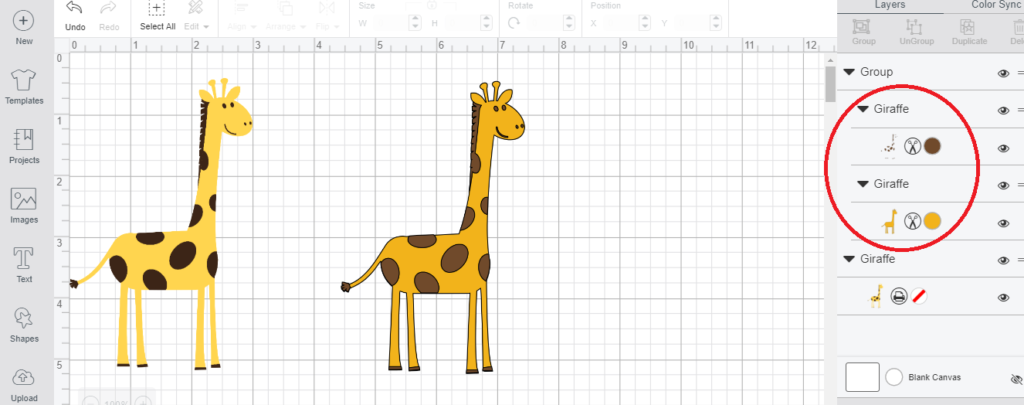
19. Alright, almost done, stay with me! Now you've got all your layers, and your original (helpful if you've got 3+ layers). Position all your layers in the right place using the original image as a guide. You may need to click 'arrange' (in the top options panel) and bring some layers to the front.
Once finished, you can delete your print then cut image. Group all your layers together so that you can manipulate all layers at once (select all your layers and click 'group'). Now's also the time to decide what size you'd like your image to be.
This image would look so cute cut out of heat transfer vinyl and put onto a kids tee!
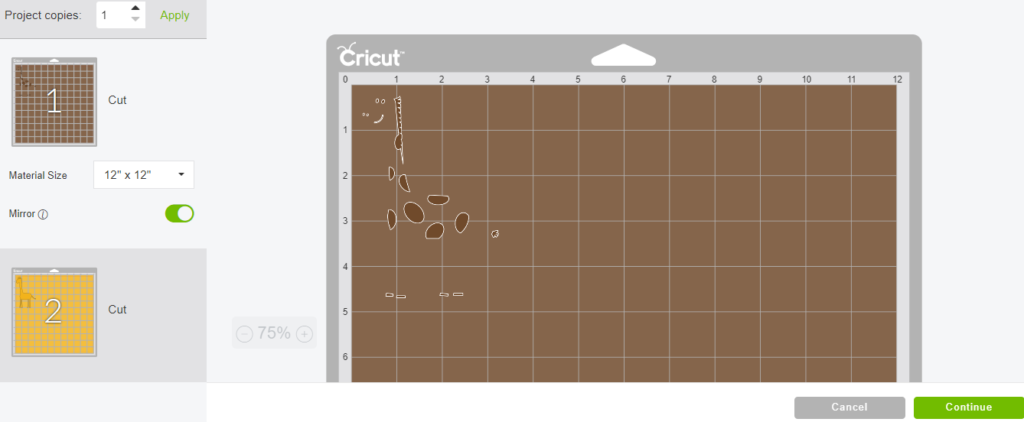
Here's what my mats look like for this project – I've got two mats, one for each color of my image. Mirror your mats if using heat transfer vinyl (iron on) or leave as is for adhesive vinyl.
And that's all you need to do to create layers in Cricut Design Space.
Let us know how you got on in the comments below!
(Please note: This post contains affiliate links. Read our full disclosure policy here.)
How to Use Eraser Tool in Cricut Design Space
Source: https://www.howtoheatpress.com/create-multi-layered-cut-files-in-design-space/
0 Response to "How to Use Eraser Tool in Cricut Design Space"
Enregistrer un commentaire